The OAI-PMH protocol (Open Archives Initiative Protocol for Metadata Harvesting) allows institutions to share and harvest metadata efficiently from digital repositories. In Omeka S, the module OAI-PMH facilitates the exposure of stored data in the platform so that it can be harvested by other systems.
In the following guide, we will learn how to set up the OAI-PMH module in Omeka S, optimizing the exposure of our digital collections for other institutions and platforms.
Step 1: Installation of the OAI-PMH in Omeka S
Before setting up the module, we must make sure it is installed.
Installation of the module:
- Download the module from Omeka S Modules.
- Upload the module’s file to /modules within our installation of Omeka S
- Go to Administration > Modules in Omeka S and turn on OAI-PMH Repository.
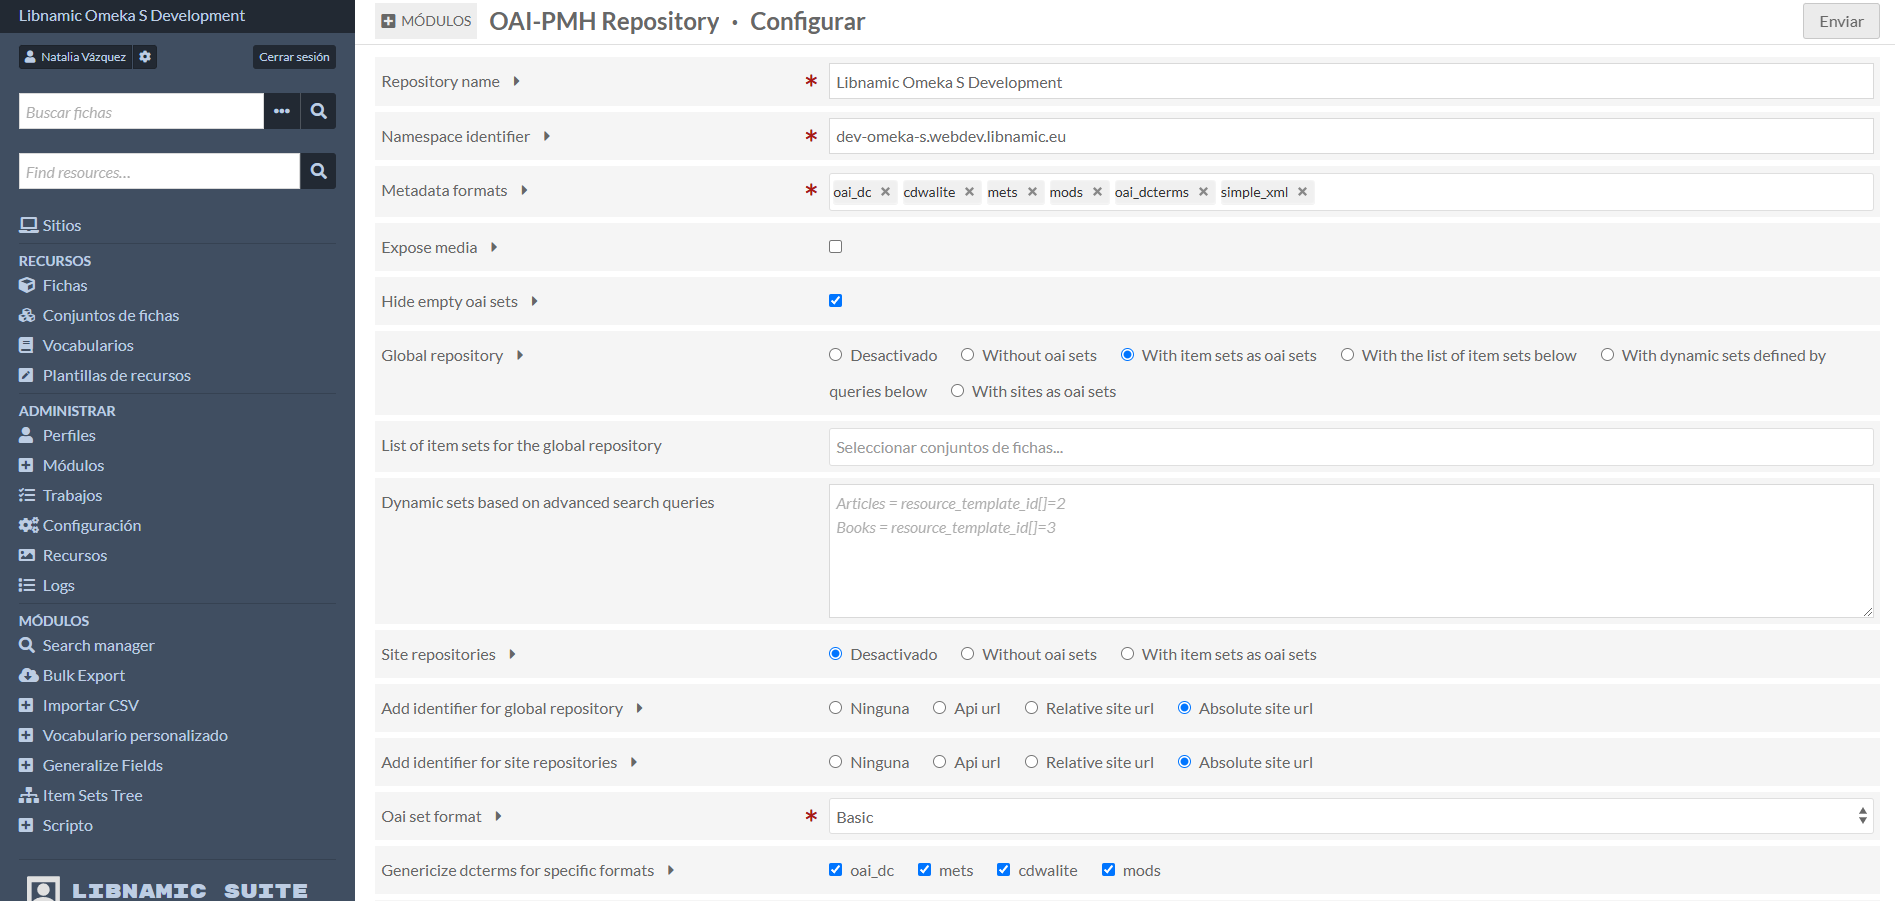
Step 2: Setting up the OAI-PMH repository
Once the module is installed, it can be set up in Administration > OAI-PMH Repository module Settings.
1. Setting up the repository’s name
This is the public identifier of our OAI-PMH repository.
- Location: Field "Repository Name"
- Recommended value: Name of our institution or library.
- Example: "National Museum’s Digital Repository"
2. Defining the namespace indetifier
The namespace identifier is a unique domain which makes sure that the metadata identifiers are globally unique.
- Location: Field "Namespace Identifier"
- Recommended value: Use your own Omeka S domain, for example:
- oai.mi-institucion.edu
- repositorio.museo.org
3. Choosing the formats of the soon to be exposed metadata
The module allows exposing metadata to different formats. Select those you will use.
- Recommended options:
- oai_dc (Dublin Core, required by OAI-PMH).
- oai_dcterms (Dublin Core extended).
- mods (Metadata Object Description Schema, recommended for libraries).
- mets (Metadata Encoding and Transmission Standard, recommended for archives).
- Location: Section "Metadata Formats"
Step 3: Setting up data exposure
Omeka S allows defining which metadata will be available for harvesters.
1. Exposing associated media to the items
If you want harvester to direct access to pictures, PDFs or other files:
- Location: “Expose media” Option
- Recommended value: true (available).
2. Hiding empty sets
For avoiding the exposure of sets which do not contain public elements:
- Location: “Hide empty OAI sets” Option
- Recommended value: true (display only those sets with at least one public item).
3. Setting up a global repository and site repositories
Omeka S allows exposing data by two means:
- Global repository: Containing all of Omeka S resources in just one URL (/oai).
- Site repositories: Each Omeka S site has its own OAI-PMH, which is useful for sharing data between entities with the same server.
- Location: Section "Global Repository" and "Site Repositories".
- Recommended:
- If administering multiple institutions in just one Omeka, the repositories has to be available by site.
- If you only have one repository, use the global repository.
Step 4: Customizing set tokens
1. Customizing set indentifiers
Each OAI set has its unique identifier. If the format needs changing, new identification schemes can be added.
- Location: Option "OAI set fomat".
2. Adjusting compatibility with Dublin Core
If metadata refined in Dublin Core Terms is used, it can be merged with Dublin Core standard.
- Location: Option "Genericize dcterms for specific formats".
- Recommended: true (better compatibility with harvesters).
3. Optimizing OAI-PMH answers performance
To improve server’s efficiency and to avoid overloading:
- Restricting answers by request:
- Location: "List Limit"
- Recommended value: 50 (Reduce if the server is underperforming).
- OAI session expiration time:
- Location: "Token expiration time"
- Recommended value: 10.
Step 5: OAI-PMH Testing and validating a OAI-PMH repository
Once it is set up, it is recommended to validate if the repository is working correctly.
1. Checking the OAI-PMH URL
Try to access to:
https://nuestro-dominio.org/oai?verb=Identify
If everything is correct, the repository’s information will be seen.
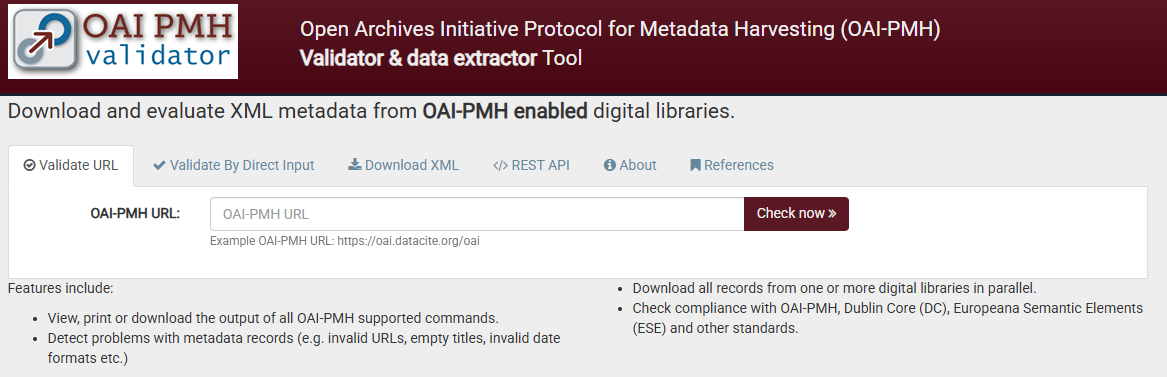
2. Validating compatibility with harvesters
You can try harvesting data with tools such as:
- OAI-PMH Validator: https://validator.oaipmh.com/
If these steps were followed, the OAI-PMH in Omeka would be set up correctly, allowing other institutions to harvest your metadata efficiently.
¿Any doubts on this matter? Go to our forum and ask us ¿Any doubts on this matter? Go to our forum and ask us
