Sites are the public-facing site of an Omeka S installation. Through them, content and interpretations around a group of items from your installation can be created.
Managing sites in Omeka S
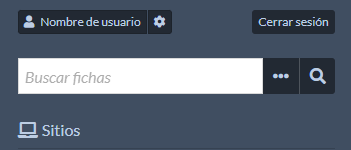
To manage sites, add to "Sites" section from the left-side menu in the administration dashboard.
A table is shown containing all sites created within the installation, indicating each title and owner.
- In the upper right side of the table, there are two dropdown menus which allow sorting sites by title, URL slug or owner, in decreasing or increasing order. To apply changes, click on the "Sort" button.

- Above the table, in the left side, there is the pagination for browsing between sites.

- Each row in the table shows site title (to the left), URL (in the middle) and owner's name (to the right).

- There are options to view (the box with the outward arrow icon), to edit (pencil icon) and to delete (trash can icon) a site
 . A site can only be deletedd by global admis and site owners.
 - If a site is not public, an eye with a slash through it icon will appear indicating that it is private
 .
.
Clicking on the site title will take you to a summary page for the site which displays the site’s URL slug, title, theme, and the thumbnail image associated. You can return to the site list, or use the button in the upper right corner for editing or displaying the site.
Creating a site in Omeka S
For creating a new site, follow these steps:
- Click on the "Add new site" button in the upper right-hand corner of the site browse page.
- The "New site" page will open, which has two tabs: Info and theme.
"Info" tab
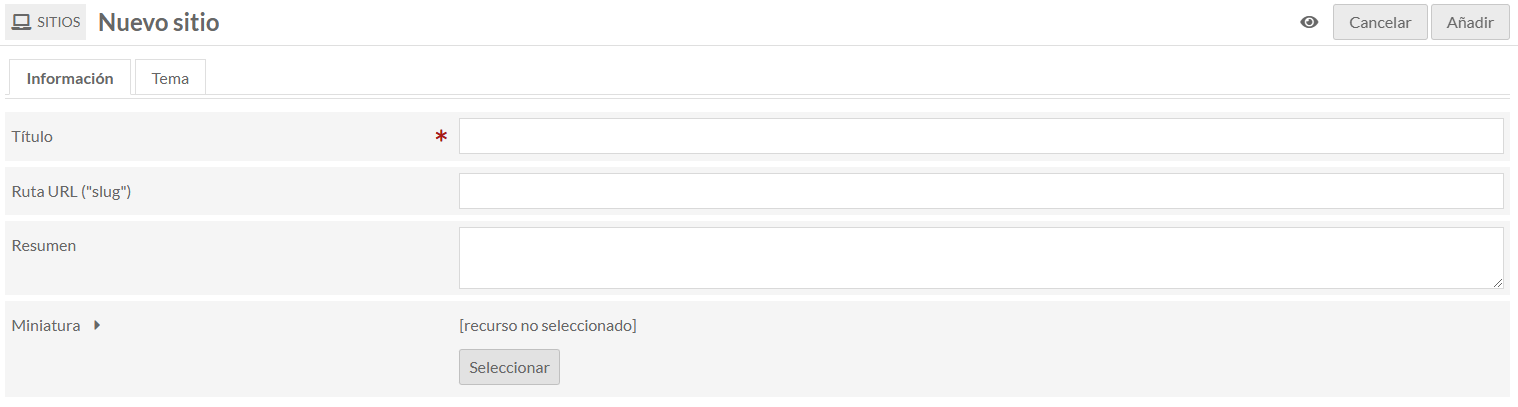
- Enter a site title (required).
- Define a rute or slug for the URL (optional). If you don't, a slug based on the title will automatically be generated by Omeka S.
- Add a site summary (optional), which will be shown in the installation's main page and sites list.
- Upload a thumbnail or select one from your installation files (optional). A image no more than 240 px wide is recommended.
"Theme" tab
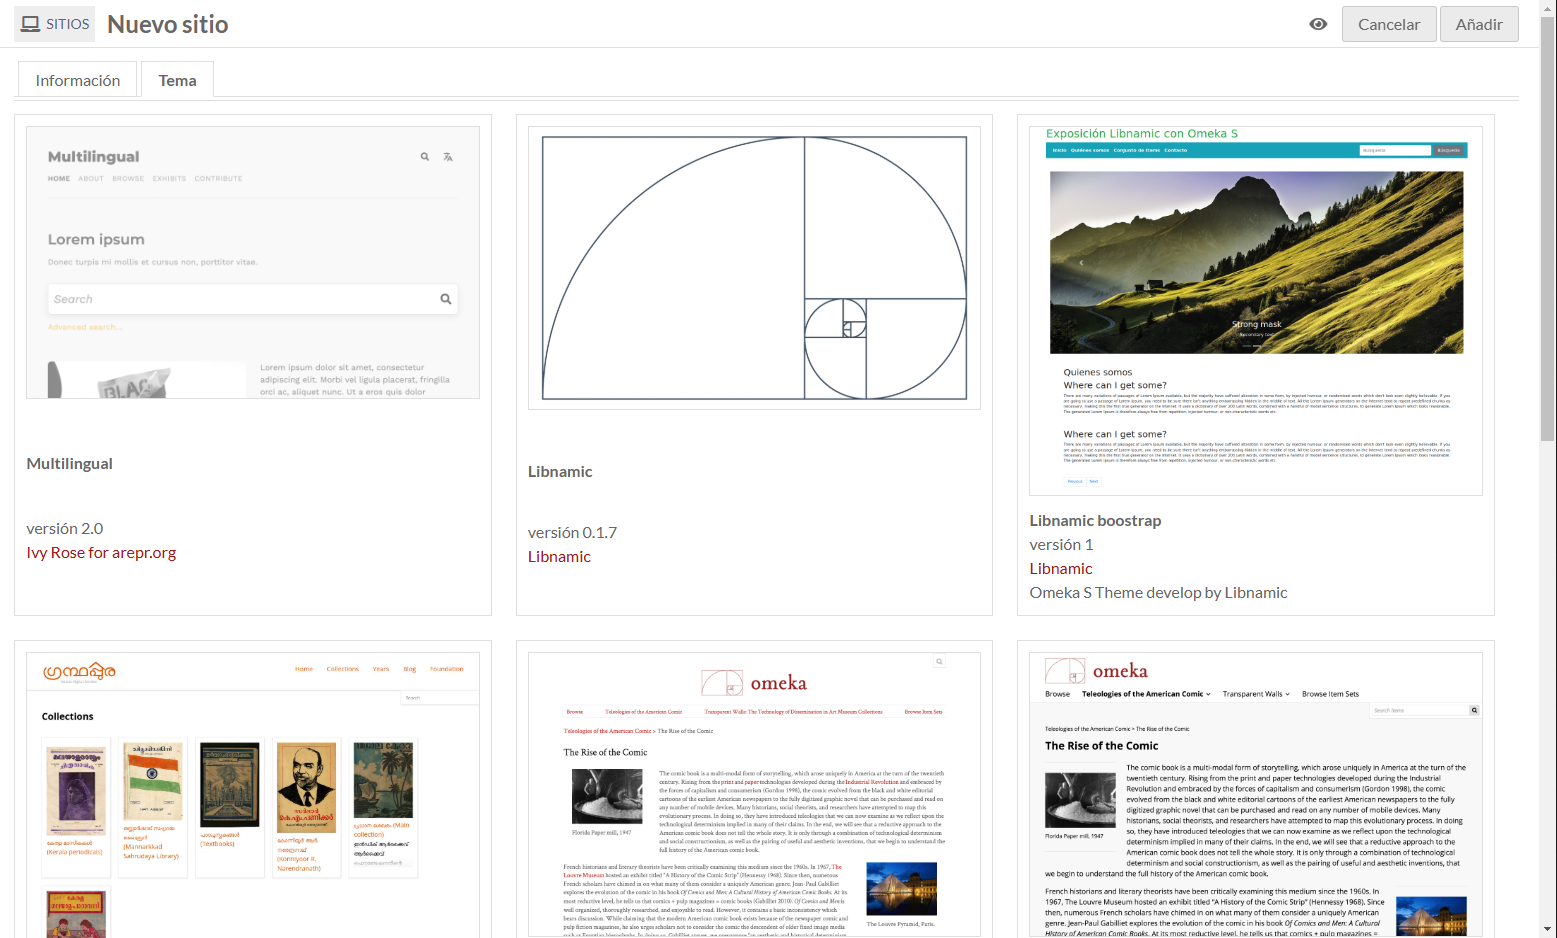
- Select a theme among those installed. Each theme will be shown with a preview, its name and a link to its creator.
- To select a theme, it will highlight in gray and a checkbox will appear in the bottom right corner of the tile.
Setting up the visibility
- In the upper right corner of the screen, next to the "Add" button, you can set the visibility of your site by clicking on the eye icon:

- Public site: a eye icon without a diagonal line.
- Private site: a eye icon with a diagonal line.
- By defect, sites are created as public, but it is recommended to keep it private until the setting up is complete and the content is ready.
When finished, click on the "Add" button to create the site. It is not possible to save a site as a draft, but it can be kept as private while working on it. If you decide not to create a site, click on "Cancel".
Managing existing sites
To manage an already created site:
- Access to the "Sites" page from the administration dashboard.
- Click on the site's title or the edit button(
 ).
). - This will open the site's "Info" tab and will show the context menu in the left-hand navigation with specific managing options.
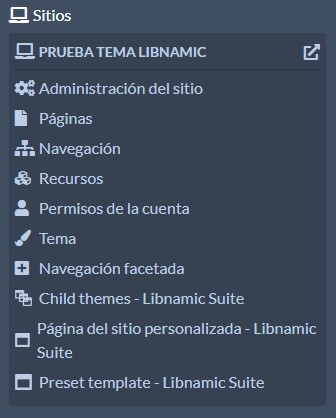
In this menu, a site title will be found in the upper side as a computer icon to the left. To the right of the title, a preview button (a box with an arrow icon) will allow viewing the site's public version in a new tab.
Following these steps, you can create, set-up, and manage all your Omeka S sites in a effective way. Learning to manage these tools will allow organazing and presenting your collections professionally, adapting them to your proyect's needs.
In addition, the browsing experience for users can be optimized and an accesible and well-structured content can be ensured.